Hello hello, I hope everyone is good at home and I wish a great year to come to everyone passing by.
The end of the year is always a great time to start fresh through resolutions. It’s been a while Lorene and I are amazed by the results offered by Unreal, the Epic Games Engine.
Computer Graphics are evolving at fast past since it’s there, but I really feel like realtime technologies are evolving even faster – People starts to do complete filmography with the tool, and it’s insanely believable.
To be honest, the possibility of reviewing assets through realtime and create images in a matter of hours is the Graal to any artist working with precalculated graphics – I often wait for days before seeing the result of my work.
So I wanted to give this a try and document this through this blog, which I brought back from where the blogs are going when they die ahah. I reckon this will be a summing up of my failures but I LOVE FAILURES. It’s where successes of tomorrow are born. I don’t know if there are many blogs of Movie Insdustry Artist putting their hand on Realtime, but now you have one !
I already have some goals already established, like a 17th-century man I want to :
– Create my land in Unreal
– Build my house in Unreal
– Build my Batcave in Unreal
Yep, I have reachable goals in my life..But it should give me some projects to work on while learning UE specifics (Land creation, Arch Viz, Level design) but in the end, when I’m familiar with the software, I would be super interested to try to develop a short film through it, as the one from Australia above. Before being a Lighter, or a Visual Artist, I consider myself a photographer so that’s where the goal lie – Photorealism in realTime. We shall see!
Rome wasn’t built in a day, but you have to put this first stone somewhere to start with.
So let’s go with the FIRST HOUR IN UNREAL – Disclaimer, I never opened the software, even if I tried Unity, so this promises to be fun – and as I’m an aficionado of the F1 function.
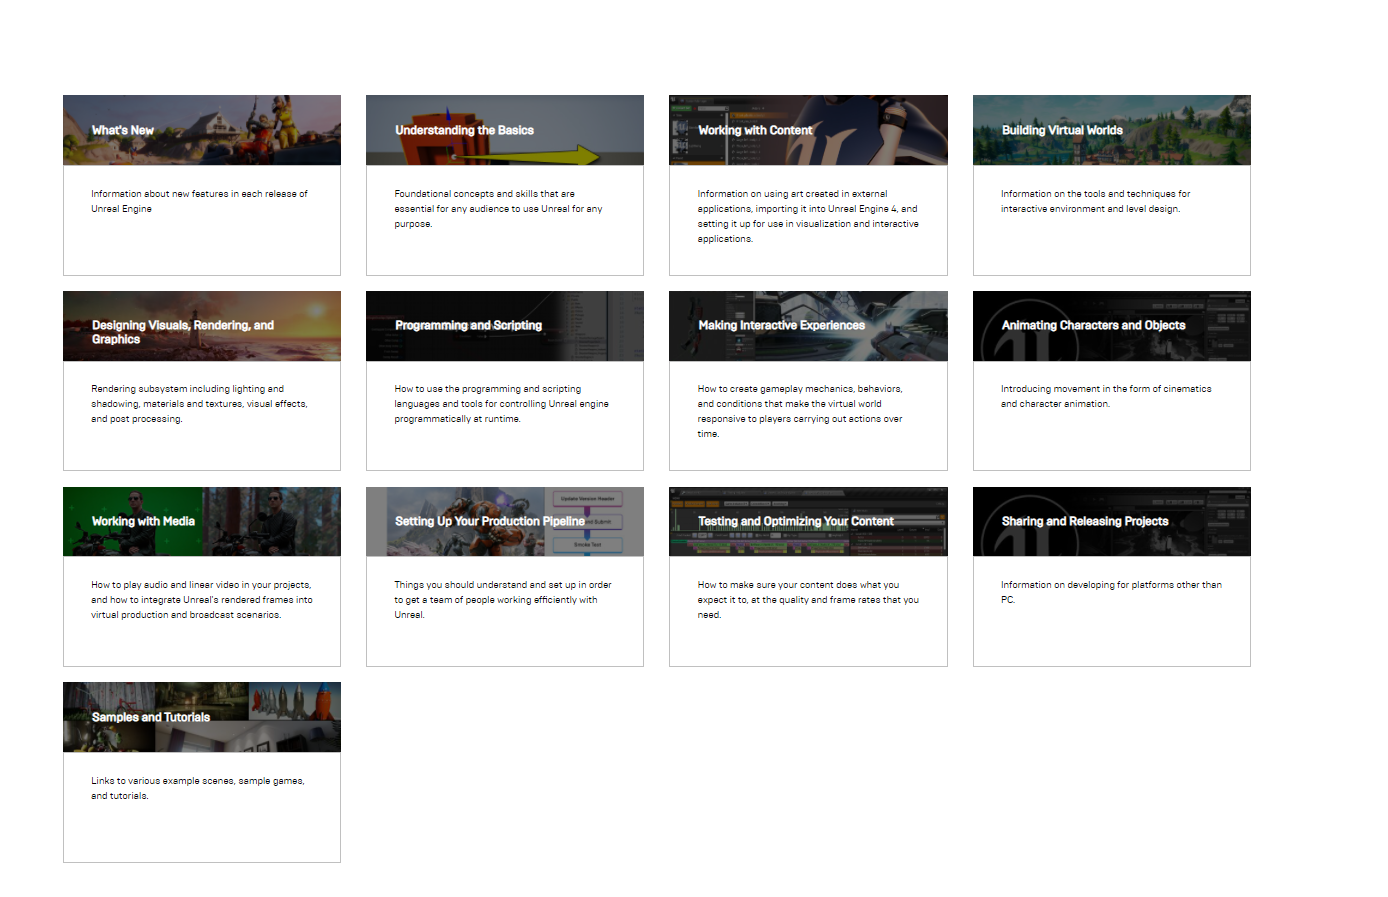
I typically go with the same request with any software, so much originality.

And as usual, not disappointed : Your First Hour with Unreal Engine
Looks like exactly what I’m looking for – I love free content and really think this is the way to develop incredible technologies & tool – Be open source and an actor of your community! Thanks for this Paul!
So ! A summing up for people aiming to save one hour during Winter Holidays.
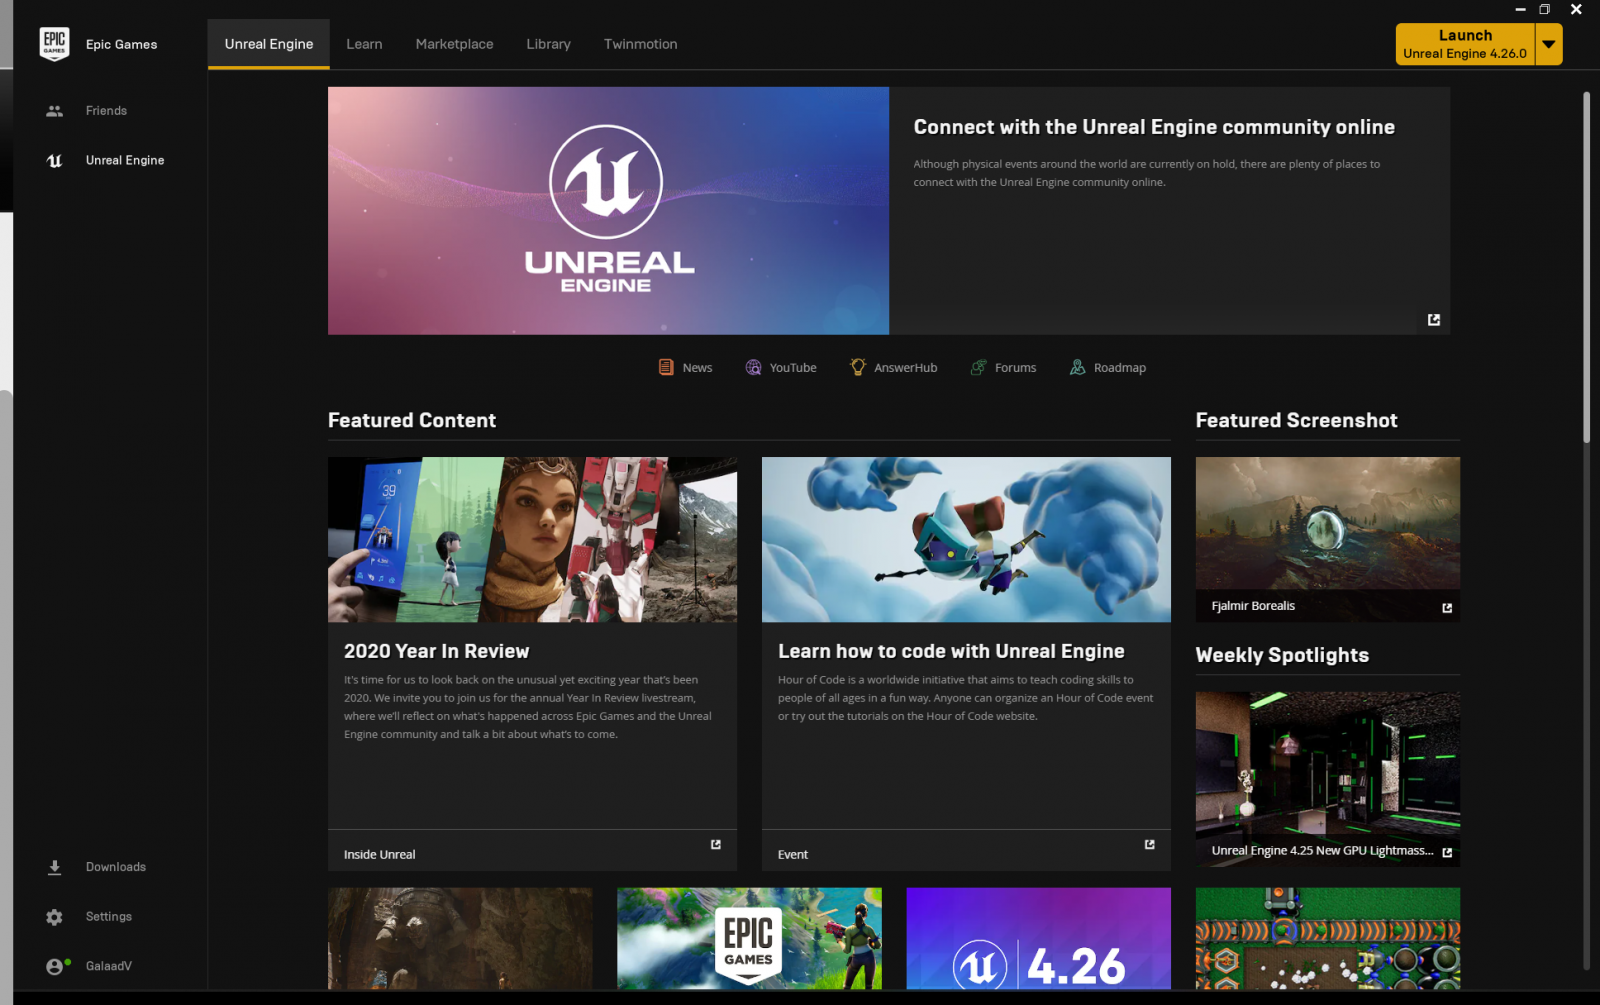
Everything starts with the Epic Games Launcher, where you can find the Engine in the Unreal Tab (The developer Area). At first glimpse, there are loads of tutorials & educational material there – I LOVE THIS. That’s where the knowledge is, be sure to give it a look.
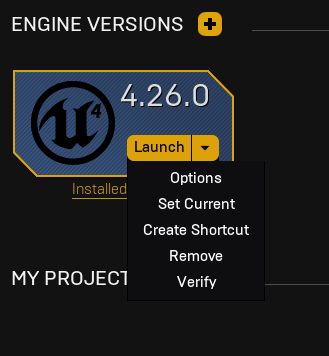
Most of what we need is located in the Library part – That’s where you will find the engine after installation. Small tips, you can create a shortcut from here, and change the parameter of the App to always be in Admin mode (You want to do this to any 3D Software for permission to edit data).
In My Projects, you will find your projects once something is started.
In the Vault Section, you’ll find Plugins & purchased assets from the Marketplace, some are free thought.
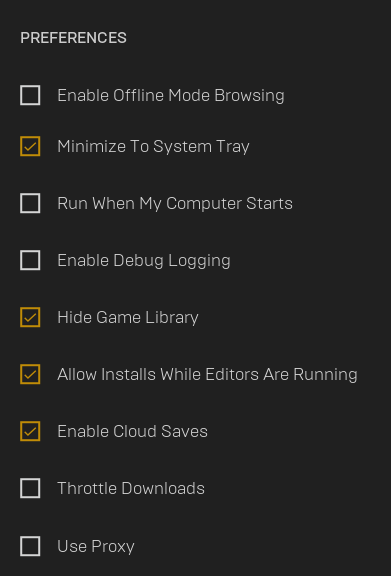
If you are using the launcher only for Unreal like I do and don’t care about the gaming part, you can deactivate this through the launcher settings.
Compared to other software where the link to the project is obvious (Photoshop creates .psd, Maya creates .mb etc) Unreal Engine needs to create a complete environment (Asset, Sounds, Level, Textures etc).
To keep it all contained, Unreal as a mandatory project structure. The software will maintain the structure of the project, but it’s always best to understand how it works under the hood for troubleshooting.
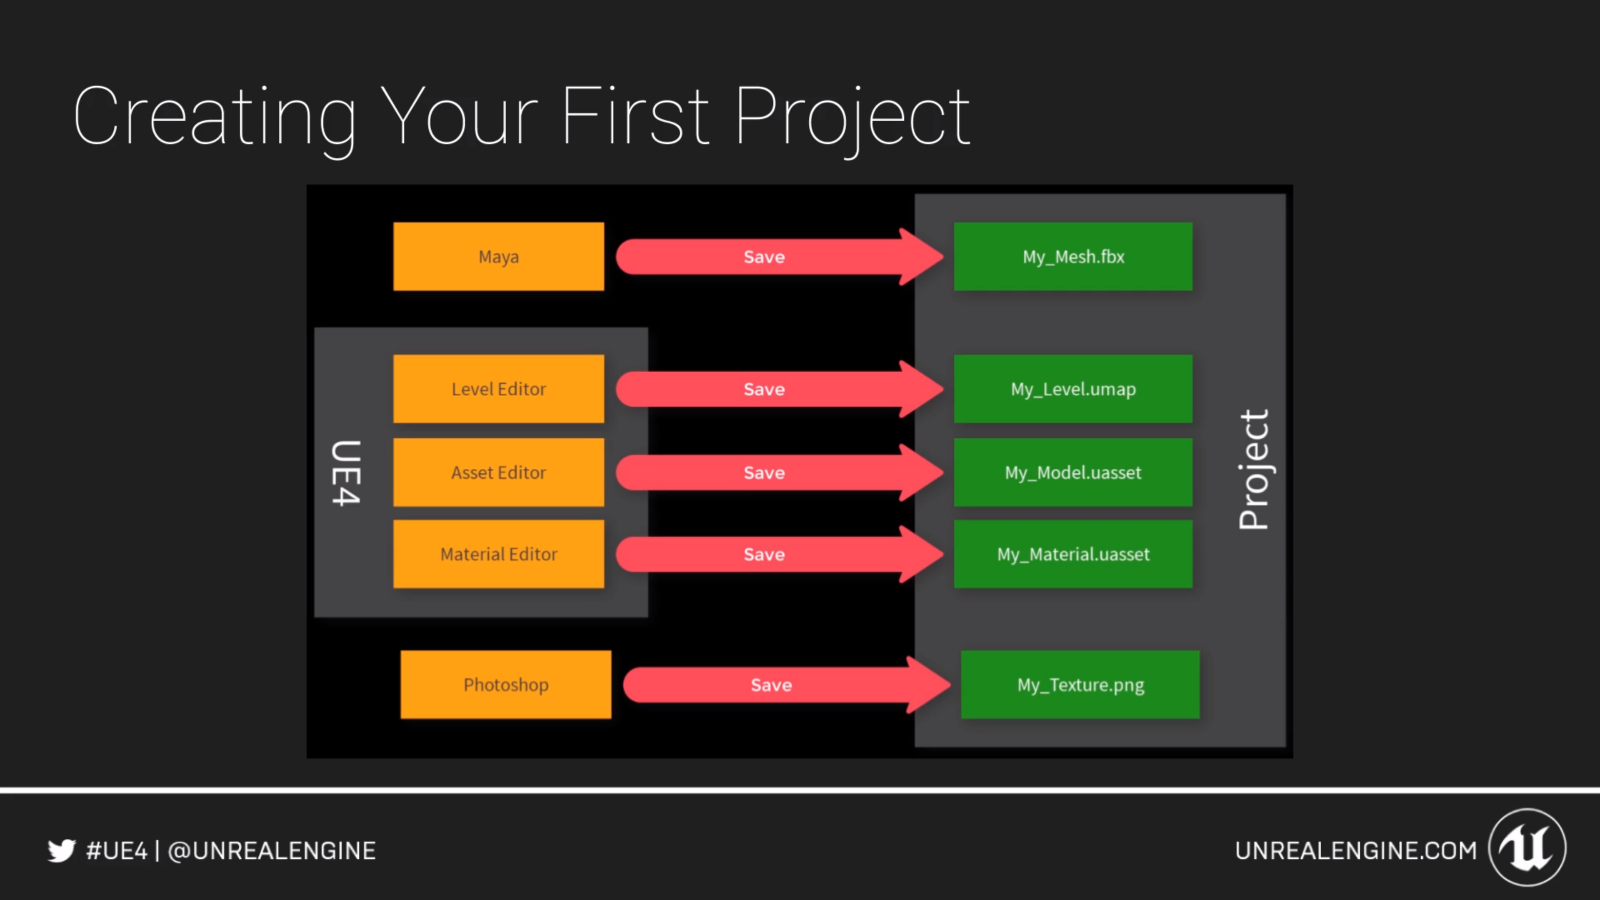
Let’s go ahead, launch your current Unreal Engine version (4.26.0 at the time of writing) and go to the New Project tab. I’m starting with a new Game Project / Third Person, but there’s a lot of templates to start with depending on the kind of game (FPS, Car, you name it).
I avoided all settings at the bottom during creation, as I reckon this can be changed related to the need at a future time.
A good first reflex in any kind of generated scene is to review the content of the scene. This can be done through the Content Browser. Depending on your familiarity with 3D Software, you’ll be either in a charted country or not. We have all kinds of elements there, from meshes to materials, to lights. What’s important here is to make the link between your project structure on your disk and this window: These are the elements.
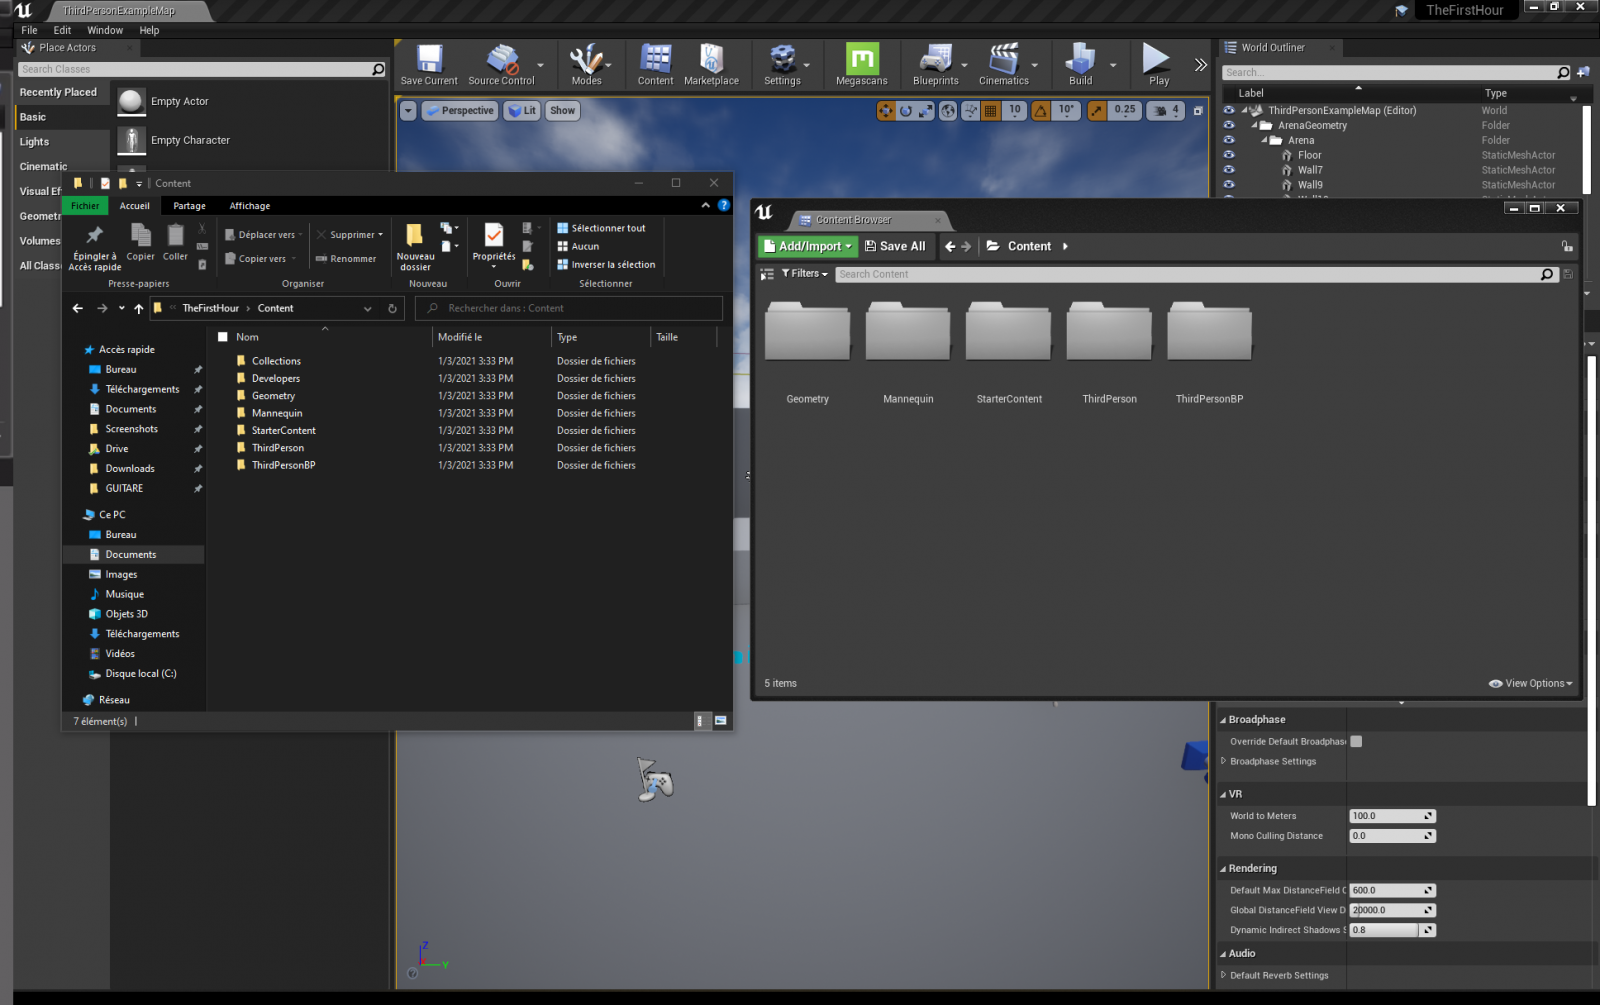
This is important for multiple reasons :
Oh, let’s talk about the mandatory shortcuts so it’s done. No artist should ever work without shortcuts in a productive environment.
TRAVELING IN THE SCENE
THE MAYA ARTIST WAY
Left Clic + Drag – Rotation
Right Clic + Drag – Forward / Backward
Middle Clic + Drag – Pan (With or without the wheel)
THE GAMER WAY
Alternatively, you can use the second travel way which is to use only the Left Clic in conjunction with WASD.
For both, the travelling speed can be changed through the Camera Speed setting directly on top of the viewport.
TRANSFORMING OBJECTS
Everything Transform operation is directly avaible at the top of the viewport – including the snaps – but the shortcuts are Maya defaults :
W – Transform
E – Rotate
R – Scale
F – Focus on selected object
You can also use spacebar to switch between all those functions!
CTRL+W or Press Alt – Duplicate Object
GAME SHORTCUT
G – Toggle Game mode
Ctrl + Number – Allow bookmarking camera position, just press the number to return to the bookmarked view
F11 – Immersive mode (Remove all gizmo)
Ctrl + Shift + P – Control the Character

Content is all the elements populating your level, from models, to animation, to squeletons, to materials.
It comes from 4 different and possible locations
– The Starter Content: Which can be considered as default objects. It can be imported at projection creation directly or Imported as a later stage.
– The Marketplace : Where you can buy or find free Content
– Migration from other Projects : Or recycling Assets from a different project
– Import Content Directly from other Software : Maya for example, this will come as a later stage as I first want to have a grasp on Unreal as a standalone application.
I’ll skip the first two as it’s pretty obvious how to do it.
Regarding the migration, as explained earlier Unreal as a mandatory structure. You could drag and drop your asset where they should be, but Unreal probably handle this better than you. Through a right-click on an object, you can ”Asset Action > Migrate”. This will migrate the object and all his dependencies to the new project (That’s where you want to go in the popup window).
Alternatively, if you need to export more than one object, just navigate through the Content Browser to the top folder and Migrate this to the new project. Congrats Unreal for making the easiest Migration pipeline ever!
If you want to go ahead and import data directly from your software, you can find some further readings there :